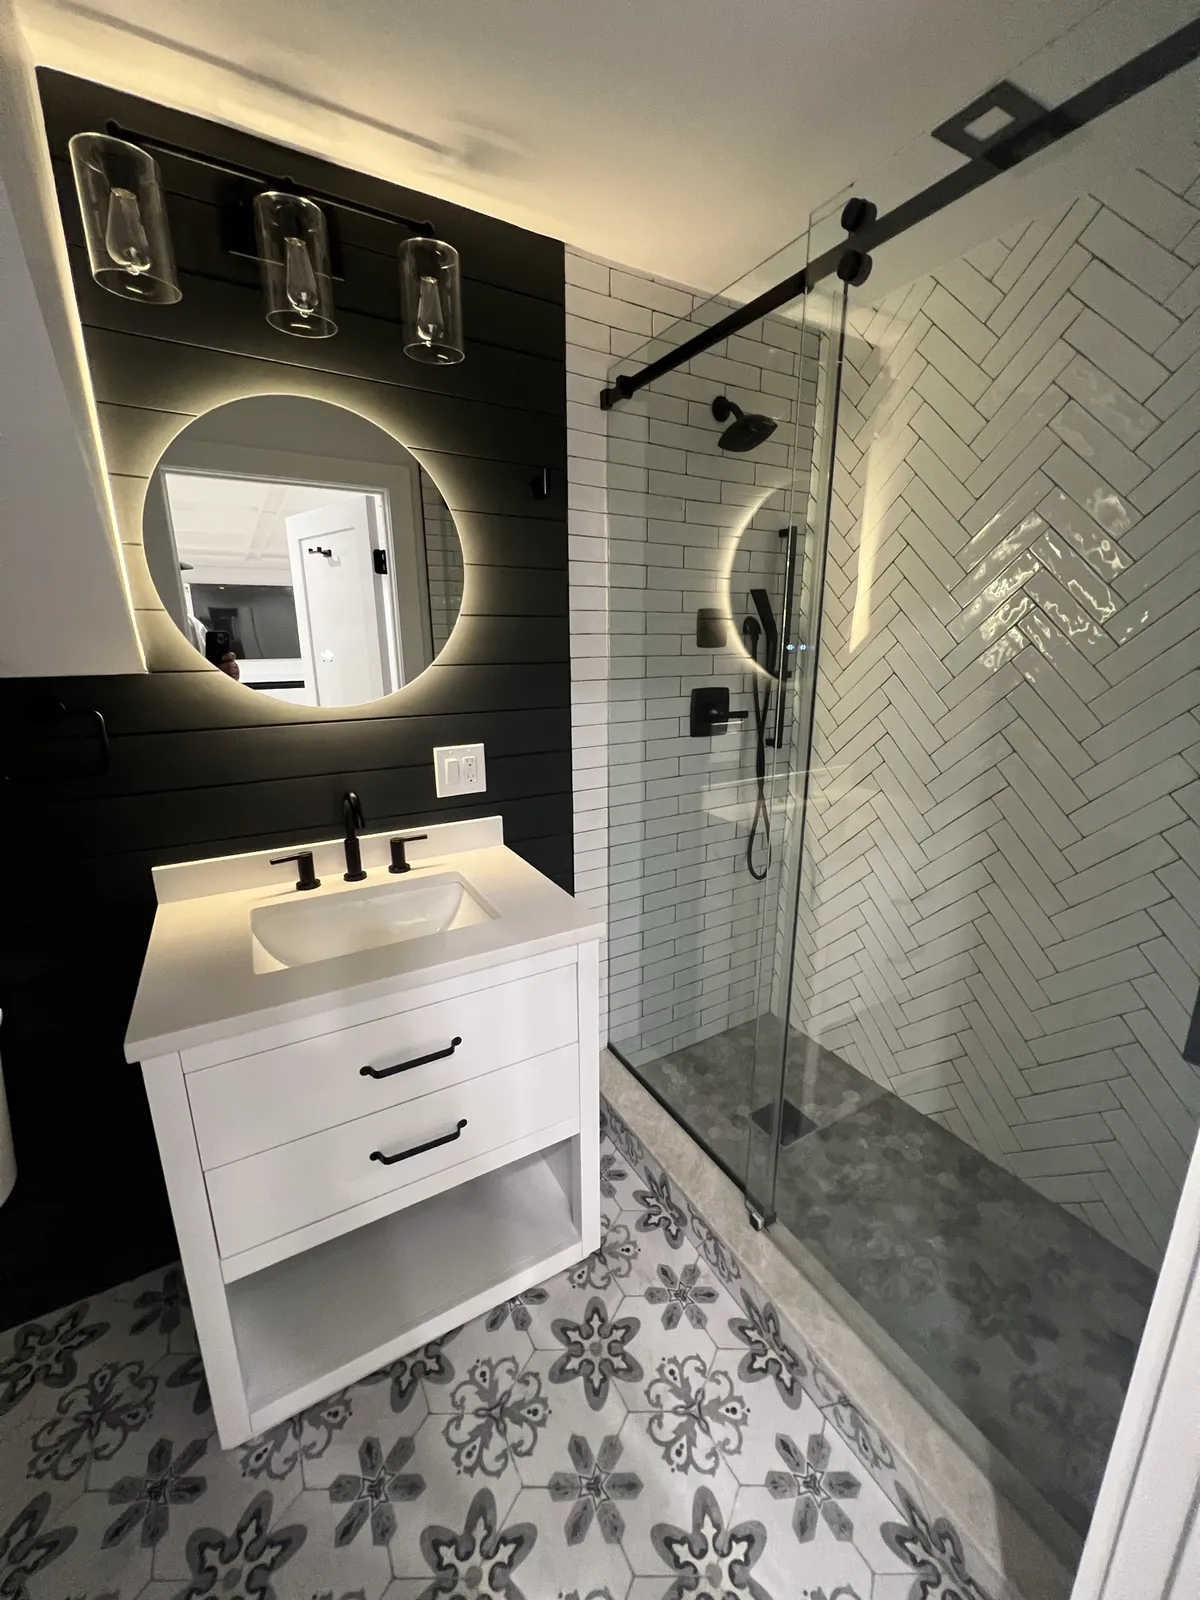
A full bathroom, built under the basement stair in Roslyn Harbor.
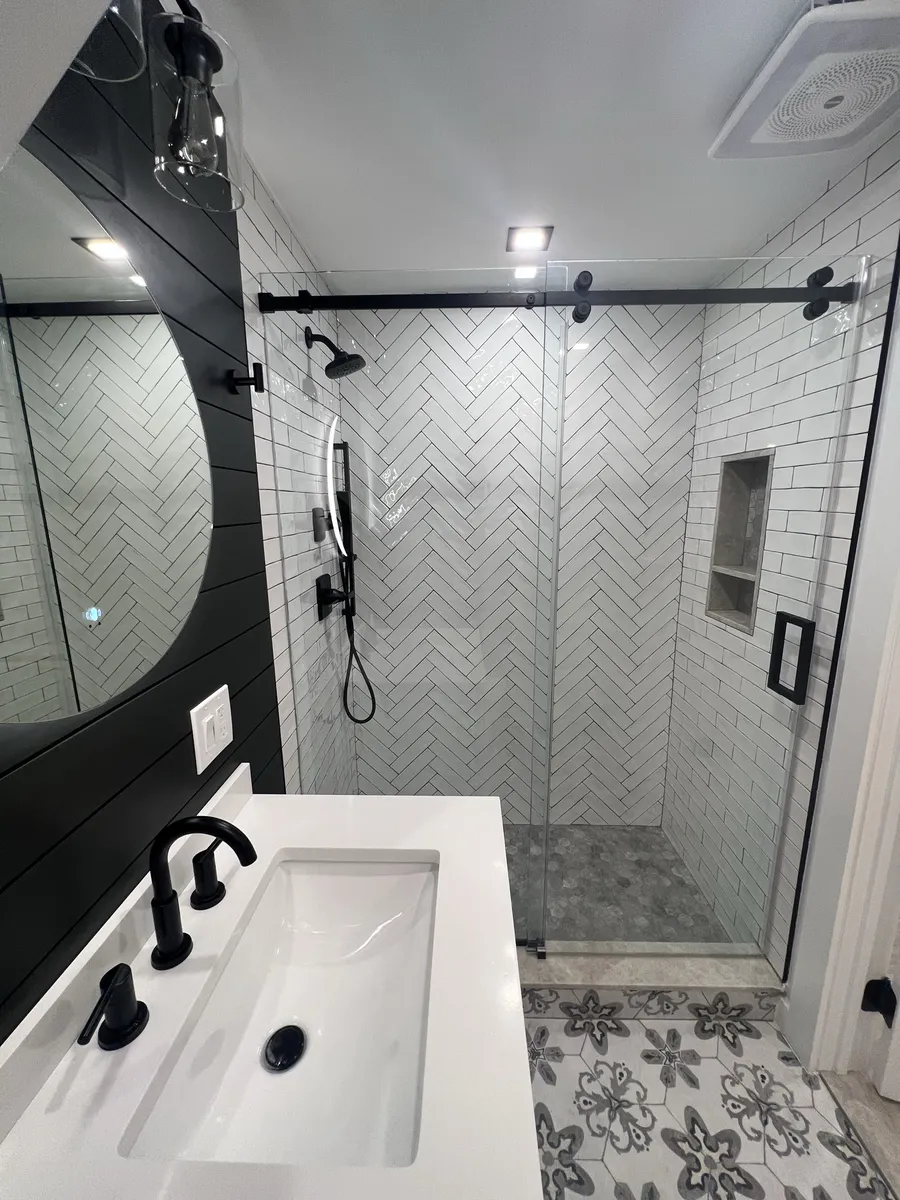
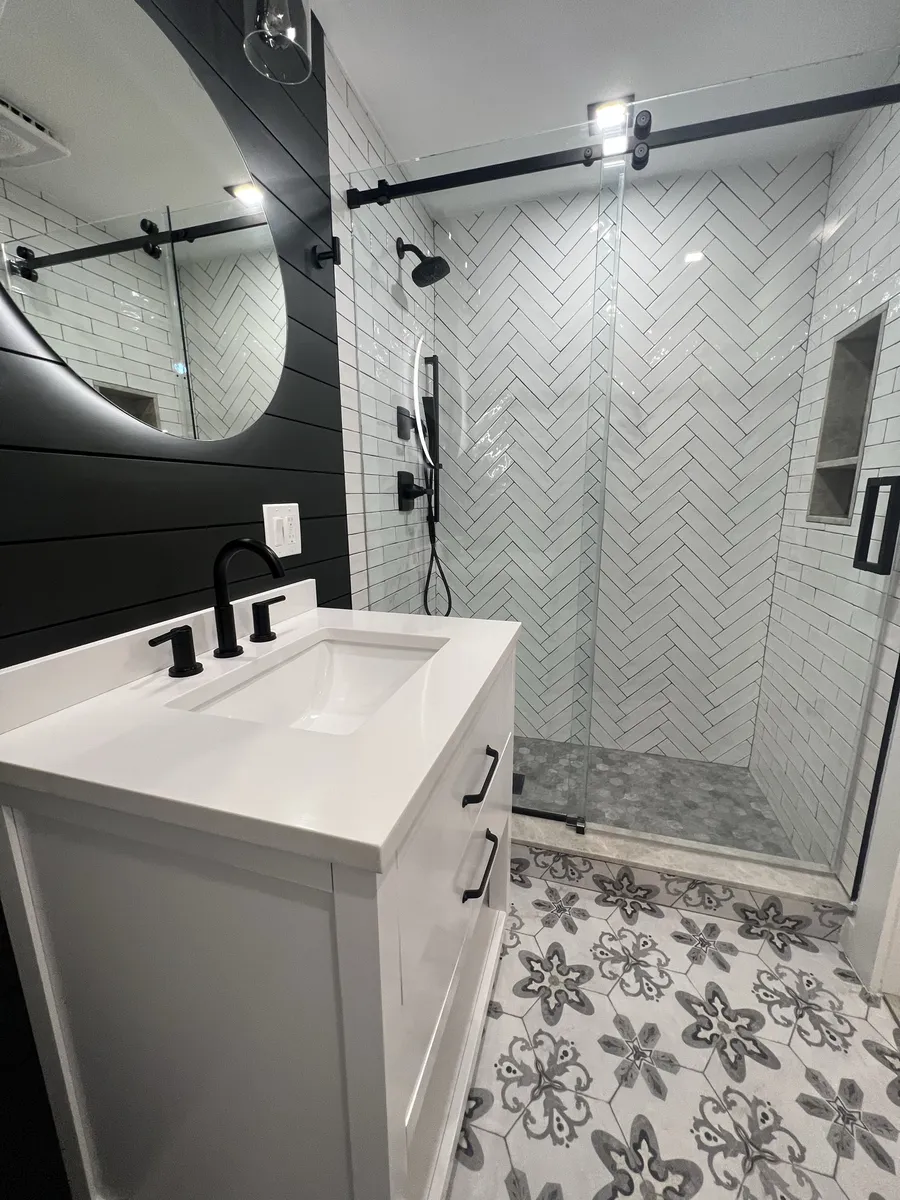
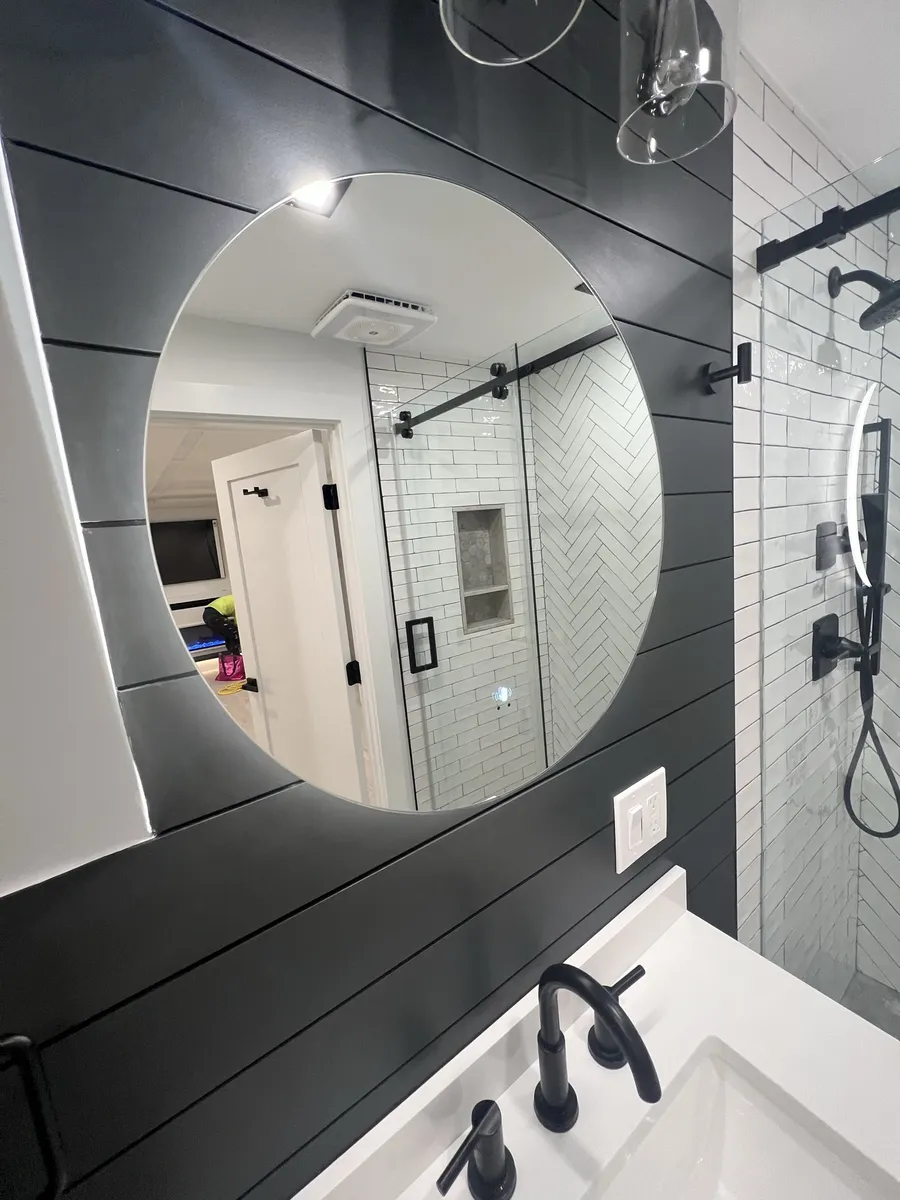
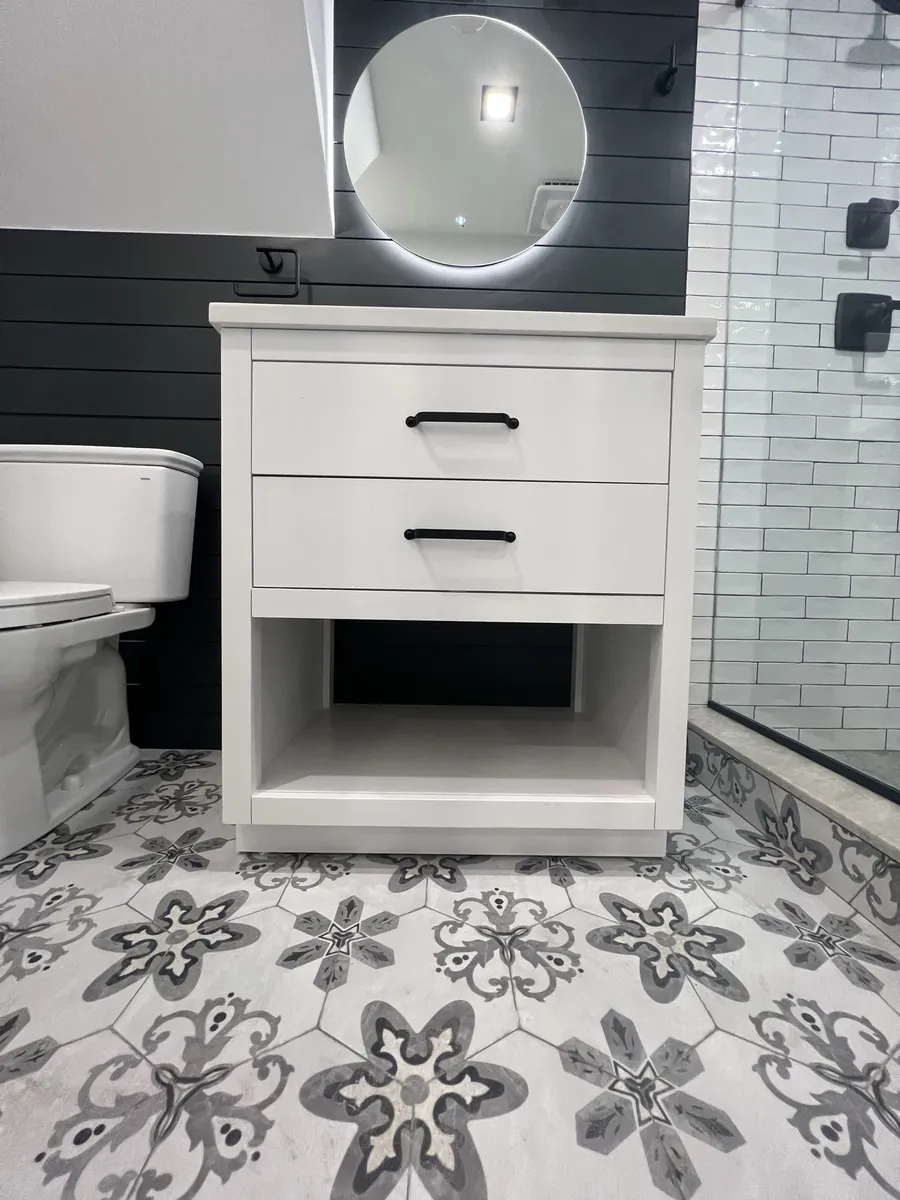
A walk-in shower with a herringbone feature wall and pebble floor, a dark shiplap vanity wall with a back-lit round mirror, patterned hex tile and matte-black fixtures throughout, fitted under a sloped stair ceiling by our crew.
The starting point
The space under the stair, and a basement that needed a real bathroom to work as living space.
The media den next door only makes sense if nobody has to go upstairs. The basement had one spot for a bathroom: the footprint beneath the new staircase, with a ceiling that slopes down toward the back wall and a floor that had to be opened for new drainage.
The brief was a full bathroom, not a powder room. A walk-in shower you would actually choose to use, a proper vanity, and finishes that read as deliberate rather than squeezed in.
What we recommended
Put the tall stuff where the ceiling is tall, and let the finishes do the work.
The shower went on the high side of the room so the rain head sits at full height, with the toilet and vanity under the slope where headroom matters less. That one planning move is why the room does not feel like an under-stair bathroom.
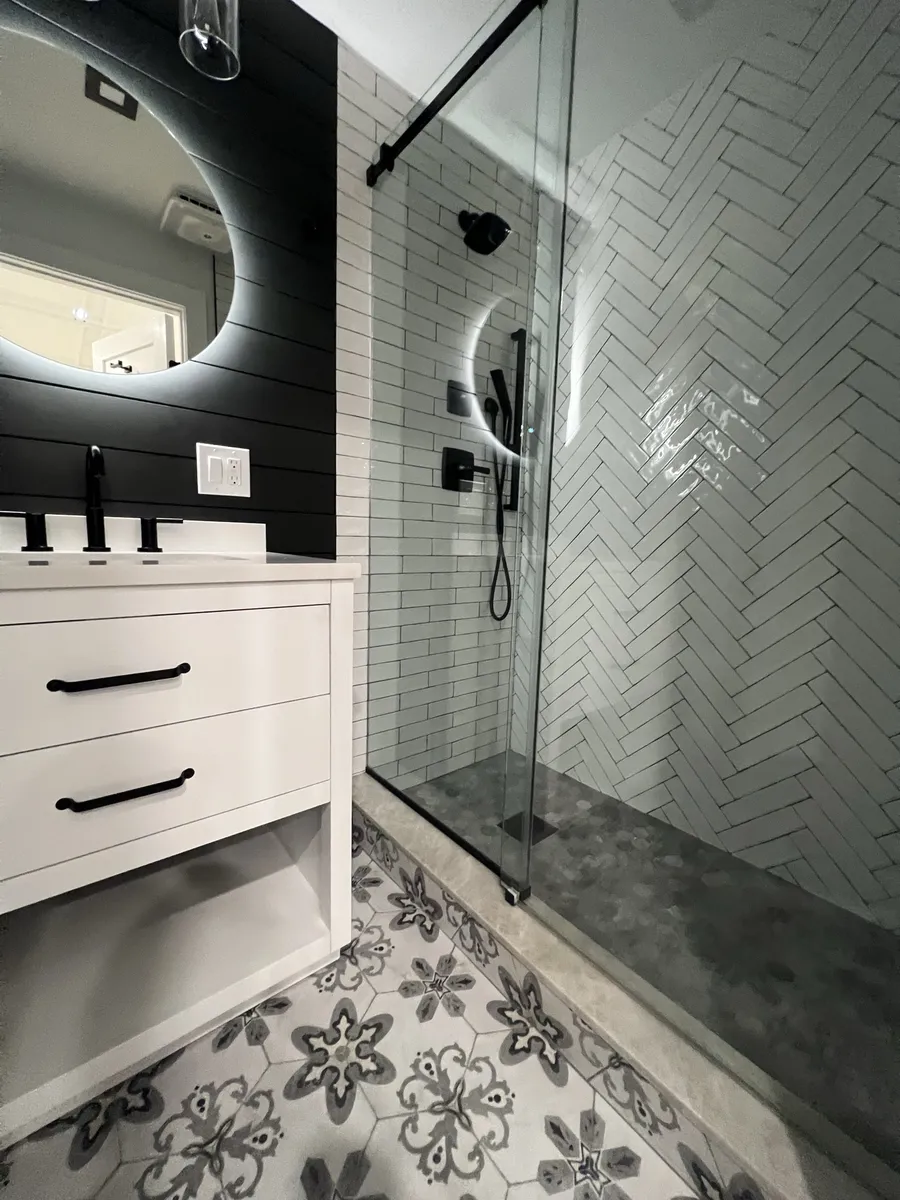
For finishes, a restrained palette with three moments of contrast: a dark painted shiplap wall behind the vanity to anchor a round back-lit mirror, a herringbone feature wall inside a white subway shower with a grey pebble hex floor, and a grey-and-white patterned hex tile across the floor. All hardware and plumbing trim in matte black so the fixtures read as one family. The shower closes with a frameless sliding glass door so the room stays visually open.
How the build ran
Rough plumbing and framing first, then waterproofing, then every tile set by hand.
Rough plumbing and framing
The slab was opened for the shower drain, toilet and vanity waste, then the room was framed under the stair with the shower on the full-height side. Supply lines, the shower valve and exhaust fan duct were set before any board went up.
Board, waterproofing and shiplap
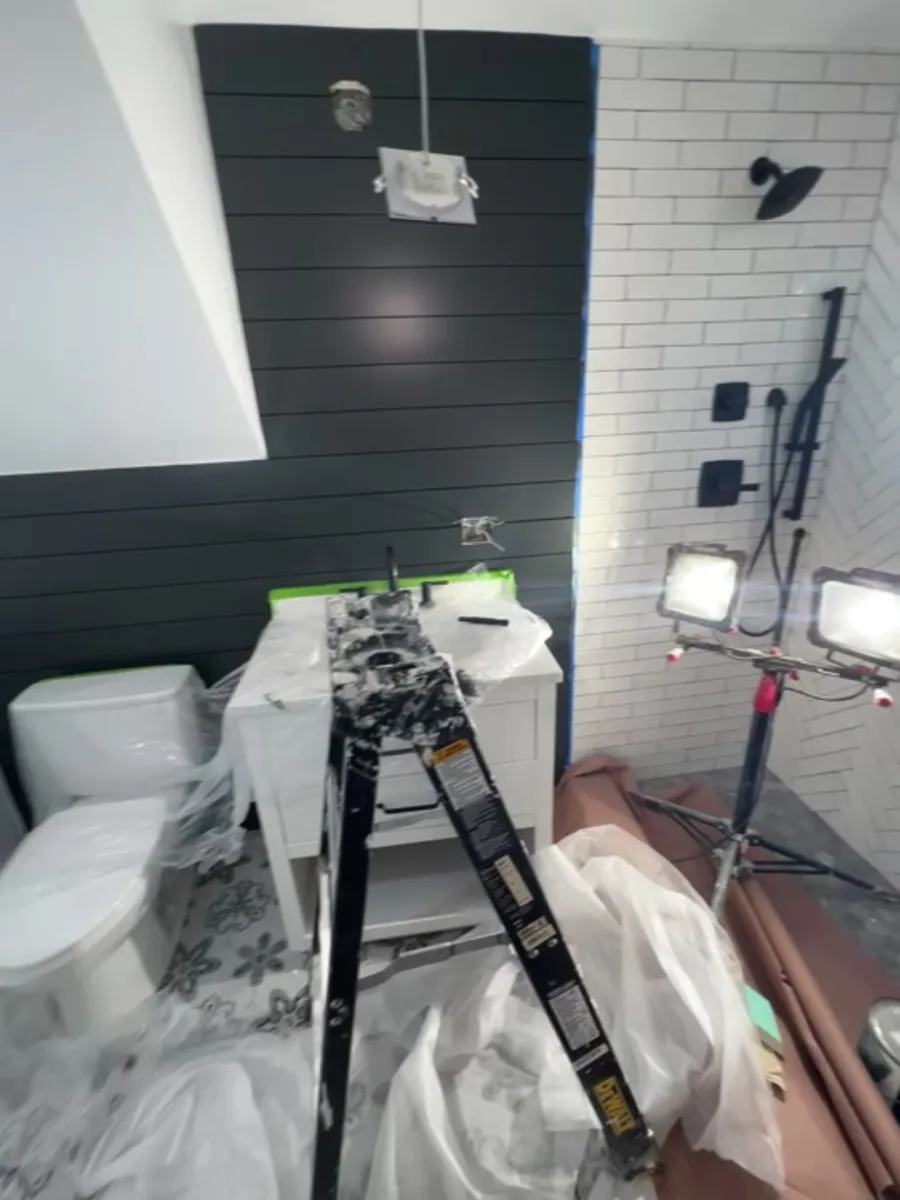
Cement board in the wet area with a full waterproofing membrane at the pan, curb and niche. Shiplap boards were run behind the vanity location and painted before tile so the dark wall meets the tile with a clean line.
Tile, set by our crew
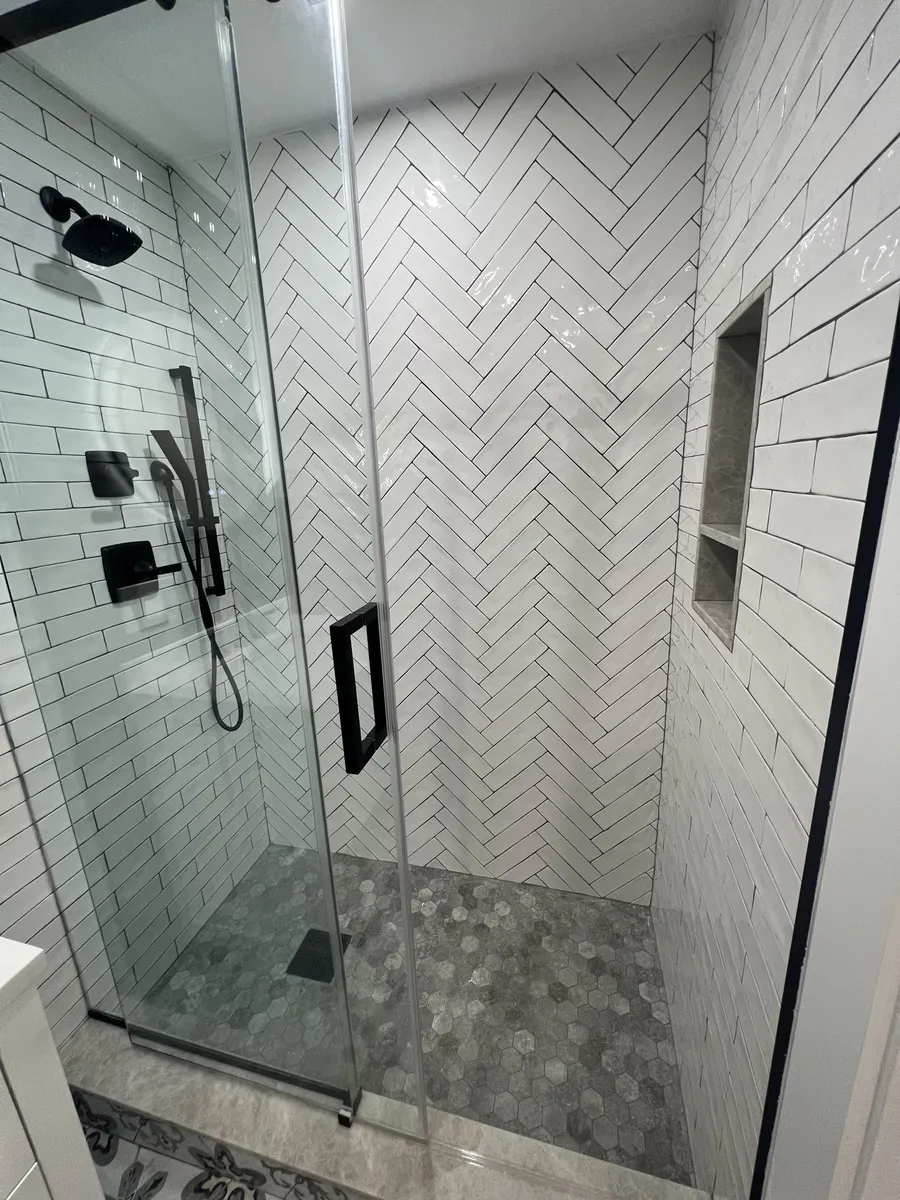
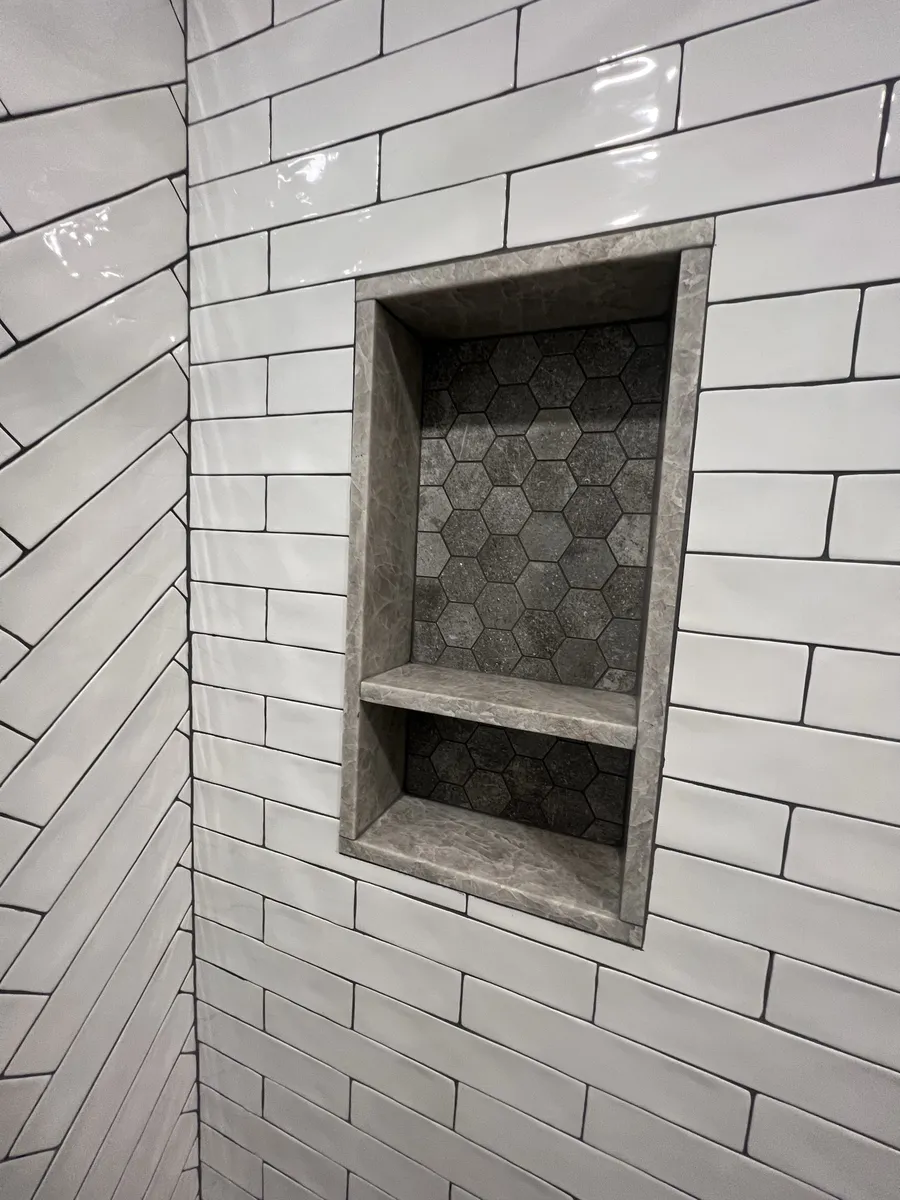
White subway on the shower walls with a herringbone feature wall, a pebble hex mosaic floor pitched to the drain, marble-look stone on the curb and inside the niche, and patterned hex across the bathroom floor. Grout, seal and cure before any fixture went in.
Fixtures, glass and finish
Vanity set and topped, widespread matte-black faucet, LED mirror and sconce wired, rain head, slide bar and trim installed, toilet set, then the frameless sliding glass door measured and hung last. Punch list closed with the rest of the basement.
A quick walkthrough
The result
A bathroom that feels like a design choice, not a leftover.
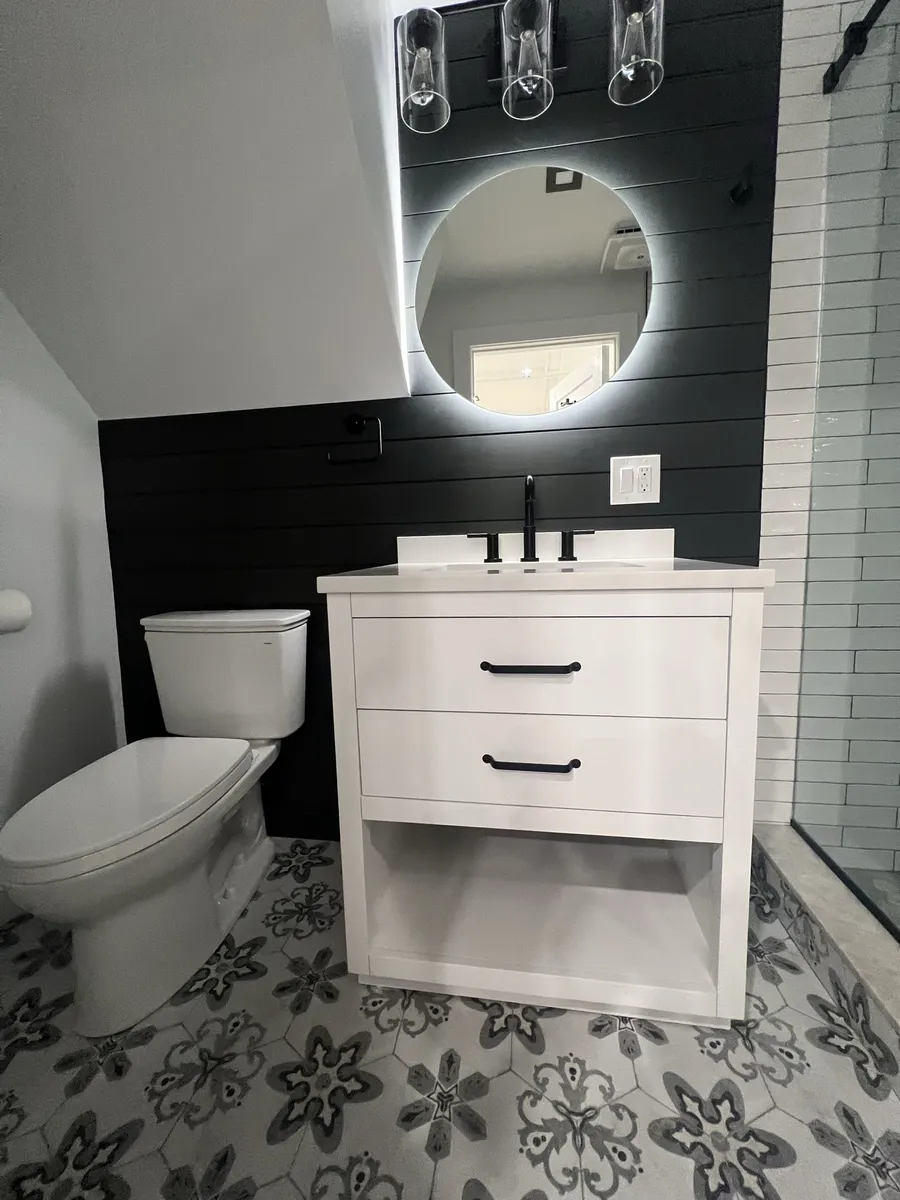
You walk in to the dark shiplap wall and the glow of the round mirror, with the white vanity and quartz top sitting against it. The patterned floor runs under everything and into the shower threshold, where it hands off to the pebble floor.
Inside the shower, the herringbone wall catches the light from the recessed can, the niche is lined in the same stone as the curb, and the matte-black rain head, slide bar and valve trim match the faucet and pulls outside. The sloped ceiling over the toilet is painted out white and mostly disappears.
Scope of work
- Layout and framing: New bathroom framed beneath the basement stair, shower positioned on the full-height side of the room.
- Rough plumbing: Slab opened for shower drain, toilet and vanity waste; new supply, shower valve and exhaust duct set before board.
- Waterproofing: Cement board and full membrane at the shower pan, curb and niche; pan pitched to a center drain.
- Walk-in tile shower: White subway walls with herringbone feature wall, grey pebble hex floor, marble-look curb and niche, frameless sliding glass door.
- Shower fixtures: Matte-black rain shower head, handheld on a slide bar and pressure-balance valve trim.
- Vanity wall: Painted dark shiplap feature wall, 30-inch white vanity with open shelf, white quartz top, widespread matte-black faucet.
- Mirror and lighting: Round back-lit LED mirror, three-light clear-glass vanity sconce, recessed can in the shower, exhaust fan.
- Floor and finish: Grey-and-white patterned hex floor tile, white toilet, board, tape and paint including the sloped stair ceiling.
Materials & finishes
- Shower walls
- White subway tile, herringbone feature wall
- Shower floor
- Grey pebble hex mosaic
- Curb and niche
- Marble-look stone
- Shower door
- Frameless sliding glass, black hardware
- Shower trim
- Matte-black rain head, slide bar, valve
- Vanity wall
- Painted shiplap, charcoal
- Vanity
- 30-inch white, open shelf, quartz top
- Faucet and pulls
- Matte black
- Mirror
- Round, back-lit LED
- Floor
- Grey-and-white patterned hex tile
- Finish
- Level-4 board and tape, painted
Same basement, next room
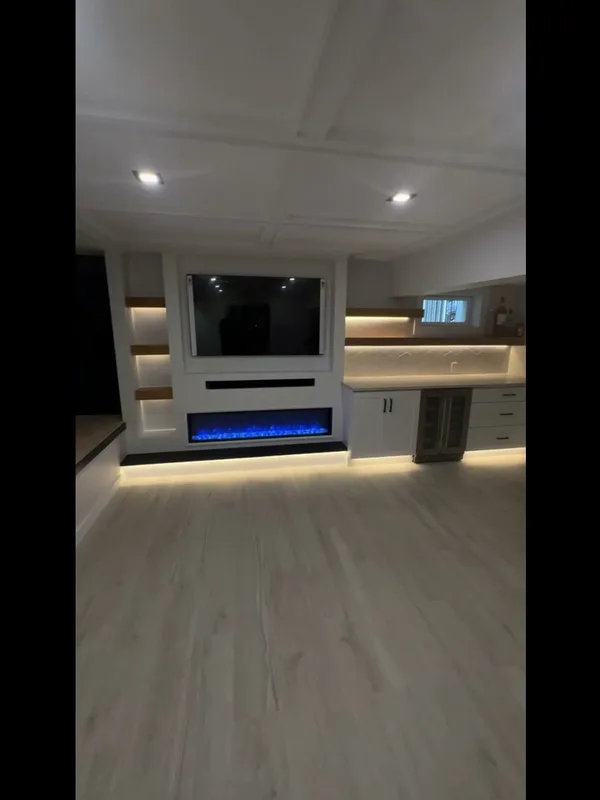
This bathroom, the media den and a laundry room were built as one three-week basement project. Each room gets its own case study so you can see the detail up close.
Rated 5.0 out of 5 across 25 Google reviews by homeowners across Queens and Nassau County.
Serving Roslyn Harbor and the surrounding Nassau North Shore.
Dream Homes Remodeling is based in Whitestone, Queens and works across Northeast Queens and Nassau County. Roslyn Harbor, Roslyn, East Hills, Old Westbury, Manhasset and Great Neck are all within our regular service area.
Adding a bathroom to a basement in Roslyn Harbor?
A basement bathroom lives or dies on what you cannot see afterward: where the drain was cut, how the pan was pitched, whether the membrane runs behind the niche and up the curb, and whether the tile layout was planned so the pattern lands cleanly at every edge.
We do the plumbing, framing, waterproofing, tile and fixtures with one crew, so the finished room is as tight behind the wall as it looks in front of it.
Tell us what you’re planning.
Send us the room, the address and roughly what you have in mind. We’ll come out, look at what’s actually there, and give you a real number.
Licensed & insured · Queens & Nassau County · 5.0 ★ on Google

Every Dream Homes project runs through Alex D.
Whitestone-born. Local 45-trained carpenter. Fifteen years running Dream Homes Remodeling across Queens and Nassau County. Alex personally walks every job, plans every scope, and stands behind every finish.
Meet Alex →“Every project is an extension of me. I won’t settle for anything less than my best.”
— Alex D.
More projects
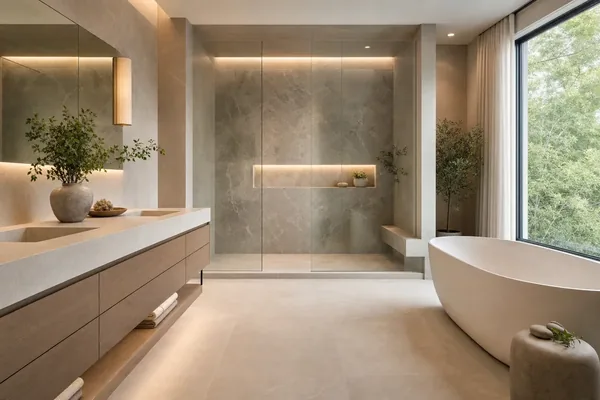
Bayside Spa Bathroom Retreat
Spa-grade bathroom with a freestanding tub, heated floors and wet-room construction.
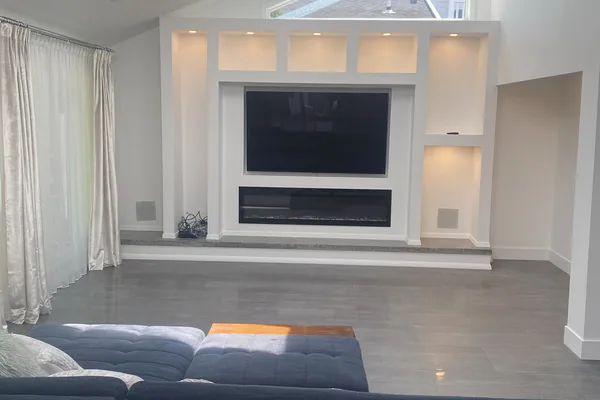
Kings Point Media Wall & Great Room
A vaulted great room built around a steel-framed media wall, linear fireplace and cove lighting.
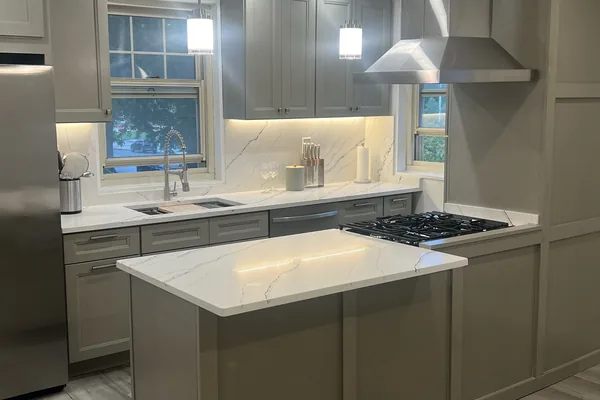
Douglaston Kitchen Remodel
Tile counters, oak cabinets and a yellow soffit came out. In their place: grey shaker cabinetry and a full waterfall island.